Hi everyone, I hope you’re all having a great week so far! I don’t know about you guys, but I just can’t get in the spirit of spring until my skin has a little color. Getting that initial tan can be a little risky. What you hope will be a bronze glow can turn to Oompa Loompa in a matter of minutes. I’ve definitely had my share of self tanning horror stories, so I thought it would be beneficial to put some self tanners to the test before sundresses and shorts become my everyday outfit. That way if my legs resembled burnt carrots, I could just wear some jeans and save myself from embarrassment! I decided to try out two different self tanners, one that’s budget friendly and one that’s pretty pricey (in my opinion). I thought it would be interesting to see if the cheaper one could compete with the more expensive one. So, let’s find out whether you should save or splurge when it comes to self tanner!
First things first: prepping your skin for self tanner. This is the most important step. If you haven’t prepared your skin properly, it doesn’t matter how great your tanning product is- it won’t look good and it won’t last! Before I tested out each of the following products, I exfoliated my skin using a sugar scrub and loofa. I also shaved to make sure nothing would interfere with the tanning mousse. After I got out of the shower, I roughly dried off with a towel to further exfoliate my skin. I also applied a light moisturizer to any areas where my skin might hold onto extra tan (such as my ankles, knees, elbows, and hands). After rinsing off the guide color, I applied moisturizer to help the tan to last longer. I moisturized every day after as well.
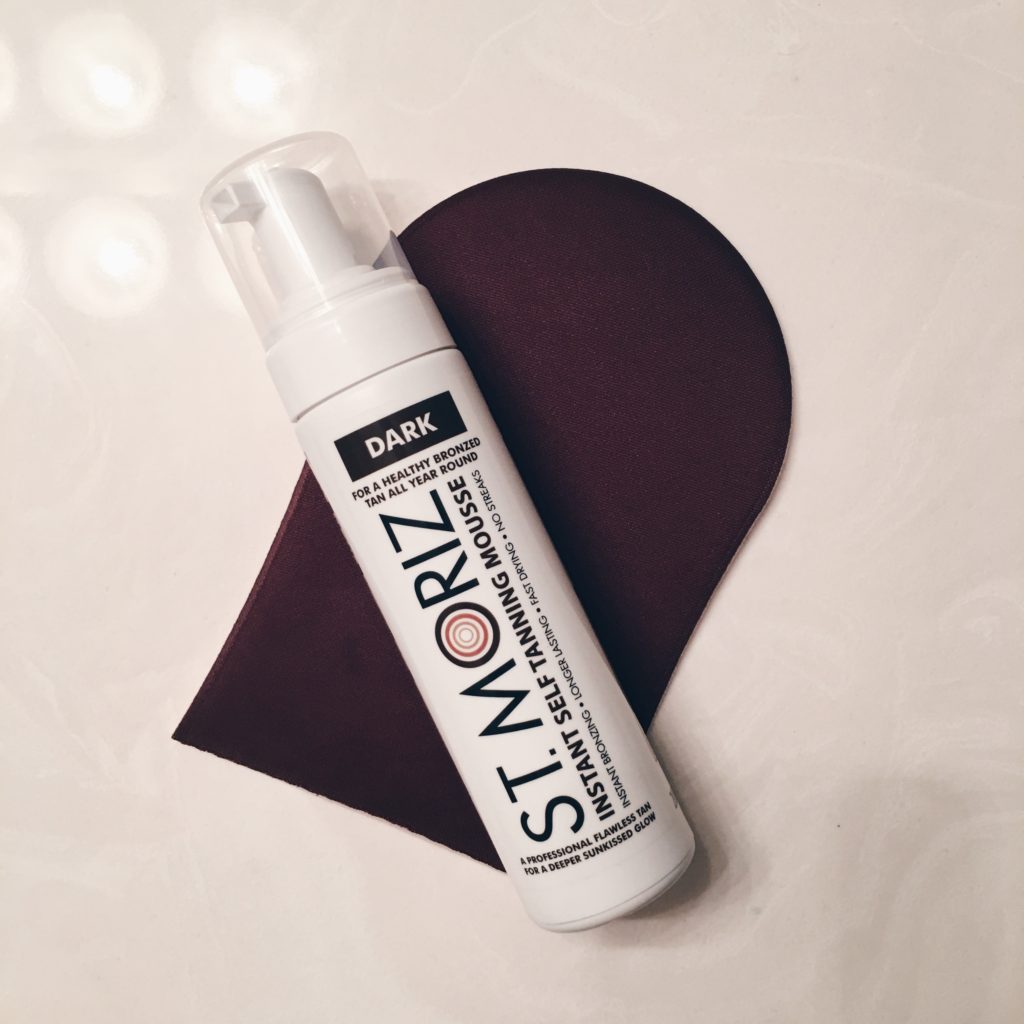
I was in Ulta a few weeks ago, when I came across the St. Moriz Instant Self Tanning Mousse in Dark. In the past, I’ve been more fond of tanning mousse as compared to the lotions, because I think it gives a more natural look. Mousse products go on the skin a little lighter, while lotions are a bit more heavy and difficult to apply evenly. Once again, this is just my personal opinion. If you think tanning lotions work better for you, go for it! I think St. Moriz has a lotion as well. When it comes to application, I have heard a lot of good things about tanning mitts. I used to apply self tanners with a glove, but I had issues with the products streaking. So, I thought why not try a mitt?! I purchased the Ulta Sunless Mitt, which looked identical to the other more expensive mitts I saw. Overall, the mousse and the mitt ended up costing me about $19 total. I did not like this mitt at all. It slid around and eventually ripped after my second application, so I would not recommend this particular mitt. When I applied the mousse to the mitt, I was a little surprised by the color. It was a greenish brown color. I knew this was most likely the guide color (which would rinse off in the shower the next morning). Generally when using a mousse, you apply it then wait about 8 hours then rinse off the guide color in the shower. This mousse went on pretty well using the mitt. It did have a little bit of a typical self tanner smell to it, but nothing crazy. I didn’t notice any streaking while applying this product, so that was promising! It dried a little sticky, and I had to be careful not to bend my arms for too long, because it would leave big white patches. The next morning when I rinsed it off, I felt like a lot of the color came off. It definitely left a more subtle tan, which is great for some people, but I was hoping for a little more color. As the week progressed, I felt that the tan got a little patchy as it faded. I did reapply this product again after 3 or so days. Overall, I think you definitely get what you pay for with this self tanner. I would probably rate it 6/10. Although, I would purchase this again when money is a little tight 🙂
Pros:
– No streaking
– Cheap
– Minimal color transfer
Cons:
– Doesn’t last very long
– A little orangey on the hands and feet (but this could have easily been my fault)
– Takes a while to completely dry
– Fades a bit patchy
Before applying the St. Moriz mousse:
After applying the St. Moriz mousse:
After rinsing off the next morning:
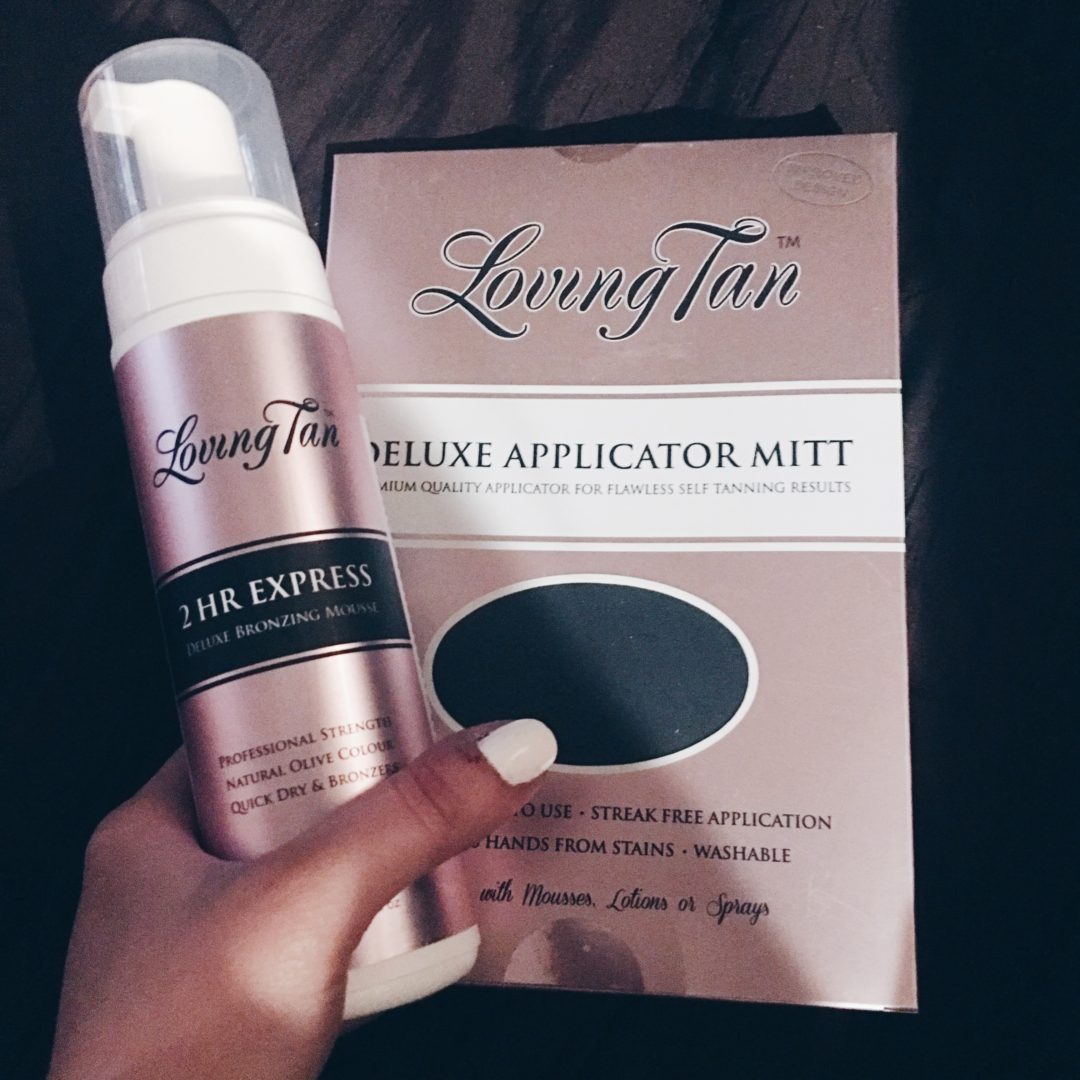
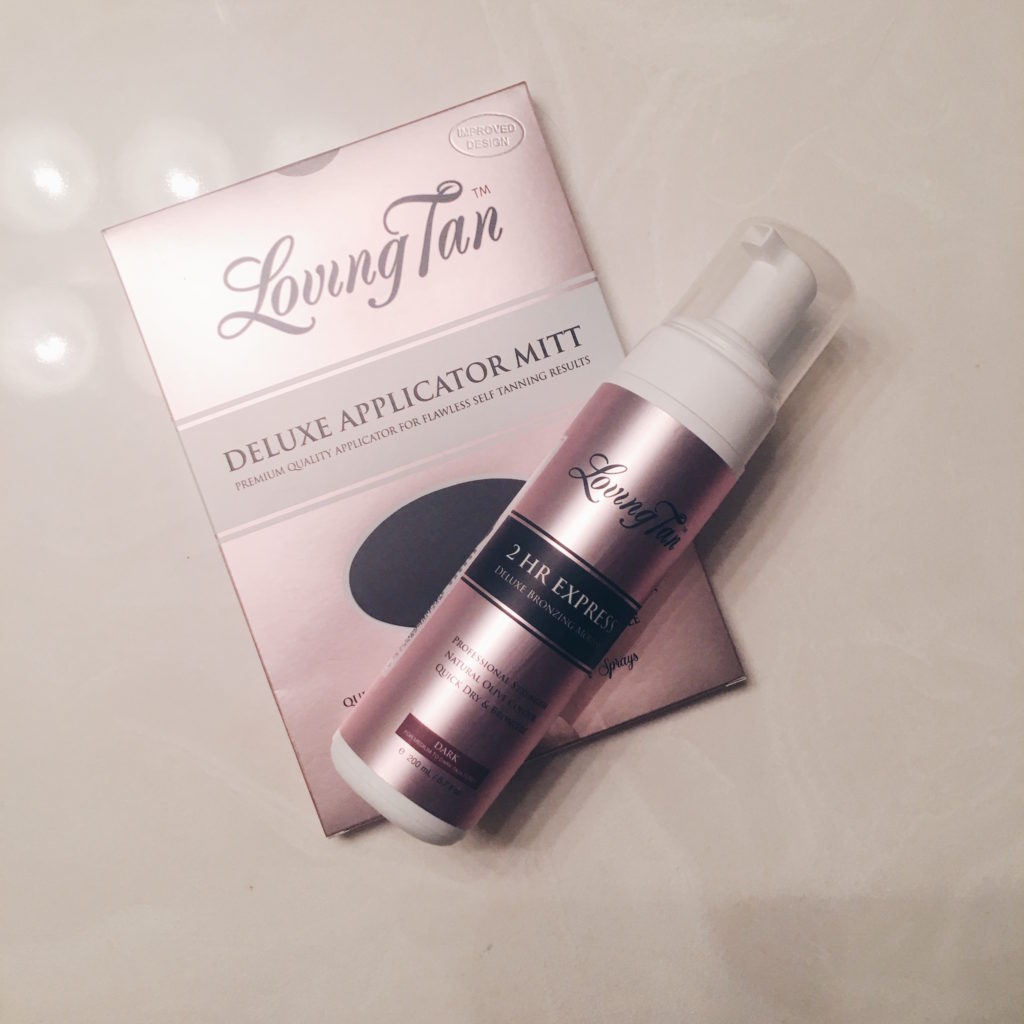
Up next, I decided to try a tanning product that I’ve heard a lot about. I first heard about Loving Tan about a year and a half ago. I considered buying some, but once I saw the price tag I decided against it. However, for the sake of this post, I decided to give it a shot. For $60 I needed this product to make it look like the sun itself came down and kissed me. If I’m being honest, this mousse better have me looking like a bronze, glowing goddess for me to justify spending $60. I found a coupon code online to get the mitt free, thank goodness. Now, I feel like it’s a little unfair because the product I ended up buying was the 2 Hour Express Self Tanning Mousse in Dark. This one was made to work much faster than the St. Moriz one, so I tried to keep that in mind. Shipping was free, it arrived really quickly, and the packaging was super luxurious (can you tell I’m still trying to justify the price)! As soon as I opened up the mitt, I knew it was going to be better than the one I purchased at Ulta. It was extremely soft and made from a velvet-like material. It was a lot sturdier, too. The color of this mousse looked better in my opinion as well. Instead of a greenish-brown it was more of a true brown. Using this mitt made the mousse blend into my skin like a dream! It was so easy. There was also absolutely no smell, so I wasn’t walking around with that obvious self tanner smell. It dried quickly, and wasn’t sticky at all. I felt like I could move around and do things, without leaving white marks at the bend of my arms and legs. After having trouble applying the St. Moriz mousse to my wrists, hands, feet, and ankles, I looked up some tips for making it look more natural. A lot of people suggested using a synthetic brush to apply sunless tanner to your hands and feet, because the brush could get into the crevices of your skin better than a mitt could. I used the Real Techniques Sculpting Brush, because it was already clean but you can use any synthetic brush you have! I think this made a huge difference. I was able to really blend the mousse into my wrists and down onto my hands seamlessly. I would definitely try this technique next time you self tan. The bottle says you can rinse off after 2 hours, but I wanted to see if I could get a deeper tan so I left it on around 3 and a half hours. I should have rinsed my hands after 2 hours, because the mousse developed faster there and ended up looking a bit orange. As with the St. Moriz, I felt like most of the color went away after I rinsed off in the shower. However, I’m still happier with the color of this mousse versus the St. Moriz mousse. I also feel like the tan continued to develop a little more even after rinsing off the guide color. I haven’t had any issues with color transfer, so that’s good! It hurts my bank account to say this, but I think the Loving Tan is worth the price difference. I’d give this product a 9/10. Something about it just looks so much more natural, and it just feels better on my skin. There is a smaller bottle that is $40, but you get the better deal if you suck it up and buy the $60 bottle. So, when it comes to self tanner I think it’s worth it to splurge! If you know of any other good self tanners, let me know!
Pros:
– No streaking
– Natural color
-No smell
– Lasts about 5 days
– Dries quickly (not sticky)
– Fades without getting patchy
Cons:
– Expensive
– Rinsing leaves you with less intense tan
– Hands can get really dark if you aren’t careful
Before applying the Loving Tan mousse:
After applying the Loving Tan mousse:
After rinsing off 3 and a half hours later:
*I tried to edit all these photos the same way and take them at the same time of day in order to get accurate results.
Side by side of both results:

